Tuesday, December 15, 2009

Guest Blog Giveaway!


I have been fortunate enough to be featured as a guest giveaway on the lovely blog, Bright, Bold and Beautiful! There you will find an amazing collection of pretties for your viewing pleasure, as well as guest interviews and features from all over the Etsy-verse. Check it out!

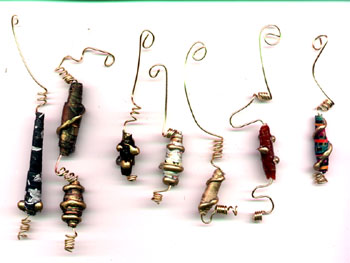
This week, I have been fortunate enough to be featured as a guest giveaway! Just head on over to Laura Trevey's blog and comment on the post for a chance to win the beautiful ornament pictured from my shop. That simple! Good luck to all who enter, and as always,


Happy crafting!

Monday, December 14, 2009

Trade Days Have Come & Gone

The Tradeaholic's Trade N' Stay has sadly come and gone for this month, which is partly why I haven't updated in a little while, lol.

I made around 15-20 trades this round (Yes, I actually lost count 0_o ) and have been a busy beaver getting them all made up and packaged. I also received some of my trades and had myself a mini-Christmas with all the goodies I traded for.

Want in on all the trading goodness? You can join the Tradeaholic's Etsy group by going to their Ning.com site here and signing up. You can also search the Etsy forums for 'Tradeaholics' to see the latest thread.

Tradeaholics hosts a huge Trade N' Stay every month, and you don't have to be a member to join in. Though, as a member, you will be notified of upcoming events.

It's a great way to meet other great Etsy sellers and get your name and products out there. You also get to have some guilt-free goodies, lol. ^_^

Check it out, trade on, and happy crafting!

Monday, December 7, 2009

Deck The Halls with Handmade Ornaments!


Why not give your Christmas decor the handmade touch with these beautiful ornaments from my shop? Sure to be a treasured addition to your holiday collection! ^_^

Sunday, December 6, 2009

Appartment Infussion: Terrarium Love

I've recently become OBSESSED with terrariums!


I'm not much of a green thumb, but I wanted some kind of house plant in my new place. Recently, my good friend CharmingMittens introduced me to terrariums, and I'm totally hooked. They're beautiful, highly customizable, and easy to care for.

Here's what you need:

- a cute glass jar (I like apothecary jars, ball mason jars, or glass globes meant for candles. These can be found in thrift stores, Walmart, or most craft stores.)
-potting soil, prwetty rocks, or another surface for your moss to grow on. It will grow on most anything really. I'm thinking of making on with sea glass and testing my luck.
-moss

Simply put your substrate (the stuff your moss is going to grow on) into your jar and arrange anything you need to to suit your tastes. Then put down your moss. Don't worry about tearing it, moss is very resilient and can be torn to size.

You can thenfind TONS of things to decorate your terrarium with, if desired. You can buy miniatures on Etsy made just for this, or pick up cute things in your craft store's dollhouse aisle. I even picked up some tiny Bella Sara horses at Walmart to go into one of mine. Think of them as a mini garden to landscape. Get creative and have fun!

Happy crafting!
~TPE

Appartment Infussion: Cool, Cheap Ways to Make Great Wall Art

You don't have to break the bank to have great wall decor for your home. I've looked around different stores, and lemme tell ya', wall art is expensive. Being a just-out-of-college, poor 20-something year old, I can't afford it, but that doesn't mean I can't still have interesting and beautiful decor.

First off, we have an art collage I made myself. You can collage anything from bits of scrap paper and other sundries or scrapping embellishments. Not feeling you're that creative? Find a cute, simple picture online (I suggest vectors) and cut out the elements out of different patterned paper for a quick, simple collage project. Play around, and I think you'll be pleasantly surprised with the results! ^_^


Next, we have some AWESOME Beatles art I cut out of a Rolling Stone magazine and framed. Check out old magazines, and you'd be surprised what you can find. Full page art spreads make really wonderful wall art, as the pages are nice and glossy. National Geographics are a really good place to start looking, and can usually be picked up at resale book shops (like Half-Priced Books) really cheap. Get to hunting! ^_^


And lastly, we have wall art from a rather unexpected source. This fetching piece was made using a FONT! That's right, I simply downloaded this font and made it about size 600 in a word document. I then printscreened it into regular old Windows paint and resized it to make sure it would be the right size for my frame, and BAM!, wall art.
You can download other awesome art fonts at Font empire in their Symbols and Pictures section here. You'd be surprised what awesome stuff you'll find!


I hope this has shown you that art comes from EVERYWHERE and that you by no means have to buy store-bought wall art for your place to look amazing. Get creative, and get hunting, and you'll be surprised how good it'll feel to have unique art you made on your walls.

Happy crafting everyone!
~TPE

Friday, December 4, 2009

A Camera, Thirft Shopping and A Feature!

Today was AWESOME! And mind you, I don't use all caps for nothin'.

I spent the day with my good friend, CharmingMittens and went thrift shopping up in The Woodlands area. Between the two of us, we bought the whole store, so be sure to stay tuned for my awesome upcycling projects soon to come.

I also got to borrow her spiffy digi cam, so I'm no longer cam-less! I honestly felt like doing little happy dances when I got to take some pics of my newest items for Etsy. I shall be listing loads of things early tomorrow morning (as I'm half-dead right now, lol.) so be sure to head on over to my shop, ThePaperElement.Etsy.com.

I also came home to find a lovely little convo telling me I'd been featured in a beatufil blog, called Verbose Purse. Check out an awesome list of gifts under $1oo. ^_^

Happy weekend, and happy crafting!

Wednesday, December 2, 2009

A Hump Day Creative Boost

It's a cold, dreary and rainy Wednesday here in Huntsville, and I'm feeling the need for a little extra boost to get me over that hump in Hump Day. I'm sure I'm not the only one out there suffering from a little winter lack of motivation, so for everyone out there, here's a little creative jolt.

Monday, November 30, 2009

Pass It On and Help Promote Etsy!

I recently received a wonderful Etsy trade from seller Laycee, and was pleasantly surprised and intrigued when I found not only her business card, but a whole collection from across Etsy. Looking at the label on the business card holder, I found that it was part of a campaign to help promote other Etsy sellers.

Well, I'm always looking for ways to promote both my own little Etsy as well as other handmade crafters out there, so I decided to join in.

It's simple. Just put your buiness card in a small buisness card-sized envelope and place a lable on the back insturcting your buyers to add their card and ship it out with their next order. This way, your buyers will get a whole treasure trove of new shops to check out. What fun!

In other news, my poor camera's sentence is in, and it has officially bit the dust. I plan on seeing my dear friend Charming Mittens this week, and will borrow her old DSLR, so pics will be up soon, as well as many new listings in my shop! I've been a busy girl!

Happy Crafting,
~TPE

Monday, November 23, 2009

New Apartment and a Busted Camera

November has been a busy month!

On the 11th, my boyfriend and I moved into our new apartment in Huntsville, and on the 12th, I turned a ripe old 24 years old.

We're both loving the new place, and I've been a busy little beaver making it ino our own. Naturally, I'm dying to share all my latest projects with you all, but alas, my camera must have had to much excitement because it has decided to up and quit on me. :( I'm hoping it's just a minor issue, such as dirt in the focus, but we'll see. Here's hoping though! I may also be getting my friend's old DSLR to use for the time being.

Here's a preview of things to come!

~DIY tile coasters
~paper cuts
~arigurumi patterns and techniques (I started crocheting!)
~Art is everywhere, or How to make awesome wall art from everyday things
~My new terrarium obsession
~Holiday wreaths and garlands
~How to give new life to old metal

I hope you'll stick around and bear with me while I try to obtain a working camera, and until then, Happy crafting!

~TPE

Wednesday, November 4, 2009

I was featured in a TREASURY!

What a wonderful way to start your day, by getting a convo saying you were featured in a Treasury!

Slvilov has compiled an absolutely beautiful treasury featuring items in cream and powder blue. Just lovely! Check it out here. Check out the other amazing sellers, and of course, give Slvilov a visit at her awesome shop, too! ^_^

Happy crafting!

~TPE

Monday, November 2, 2009

Cute Japanese Printable Stationary, Take 2!

I thought I had found a rather good source for printable Japanese stationary in my last post regarding this topic, but boy, have I out done myself this time!

I have found the Nirvana of all printable stationary sources, Heaven to any fan of kawaii, smilescan.net. And what's more, it's completely FREE. Yep, totally free access to literally HUNDREDS of printable Japanese stationary from top brands like Sanrio and many others. You can even join the website and upload your own scans of stationary to the galleries, keep record of your favorite stationary, and receive email updates on what is being added to the community.

My poor printer.....LOL!

Have fun, and stock up on paper and ink!
~TPE

November is Diabetes Awareness Month

With November comes many things. The first hints of autumn, my birthday (the 12th), and one of the most important, Diabetes Awareness Month.

This cause has rather recently become very near and dear to me. My boyfriend of 8 months was diagnosed with type 1 Diabetes when he was 17. Granted, it's rather old to be diagnosed, and I think in some ways, more challenging for him. He handles it very well though, and the strength with which he meets the issues facing him and the complications from his diabetes amaze me everyday. He's an incredibly strong person.

Out of my love and concern for him, I have taken a new interest in diabetes research and treatment options. We both are always on the lookout for new treatments, and hope to one day see a cure. Until then, we do the best we can.

This is why I've decided to make special items in my shop, whose sales will go towards befitting the American Diabetes Association and all that they do. You can learn more about this wonderful organization at their website.

I will soon be adding these items to my shop, so please keep an eye out for them!

Happy November, and happy crafting!
~TPE

Friday, October 30, 2009

Friday 5 - Bloody Halloween

TGIF!
This weekend is Halloween and in honor of one of my favorite holidays, this Friday 5 is all about All Hallow's Eve. So get your costumes ready and grab yourself some candy, cus it's time for the Friday 5!

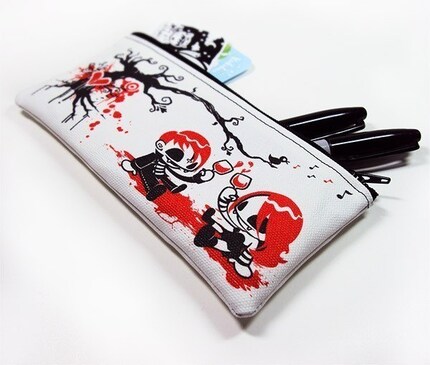
First, we have an awesome zipper pouch from kukubee. This pouch is perfectly cute and creepy and sure to get comments whenever you use it!


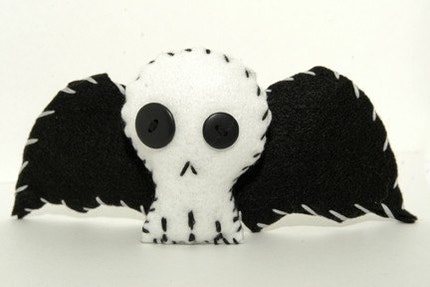
Next, we have a super cute stuffed skull bat from MyViciousBoutique. I'm in love with this handmade stuffie! Check out her shop for other adorable stuffies!


I ADORE bats, so when I saw this hip, modern print, I just loved it. Check out ialbert's shop for more cool modern art prints!


Next, we have this totally gore-rific tie from au16670. This tie is the perfect addition to any costume, or to add the perfect touch to your Halloween work waredrobe!


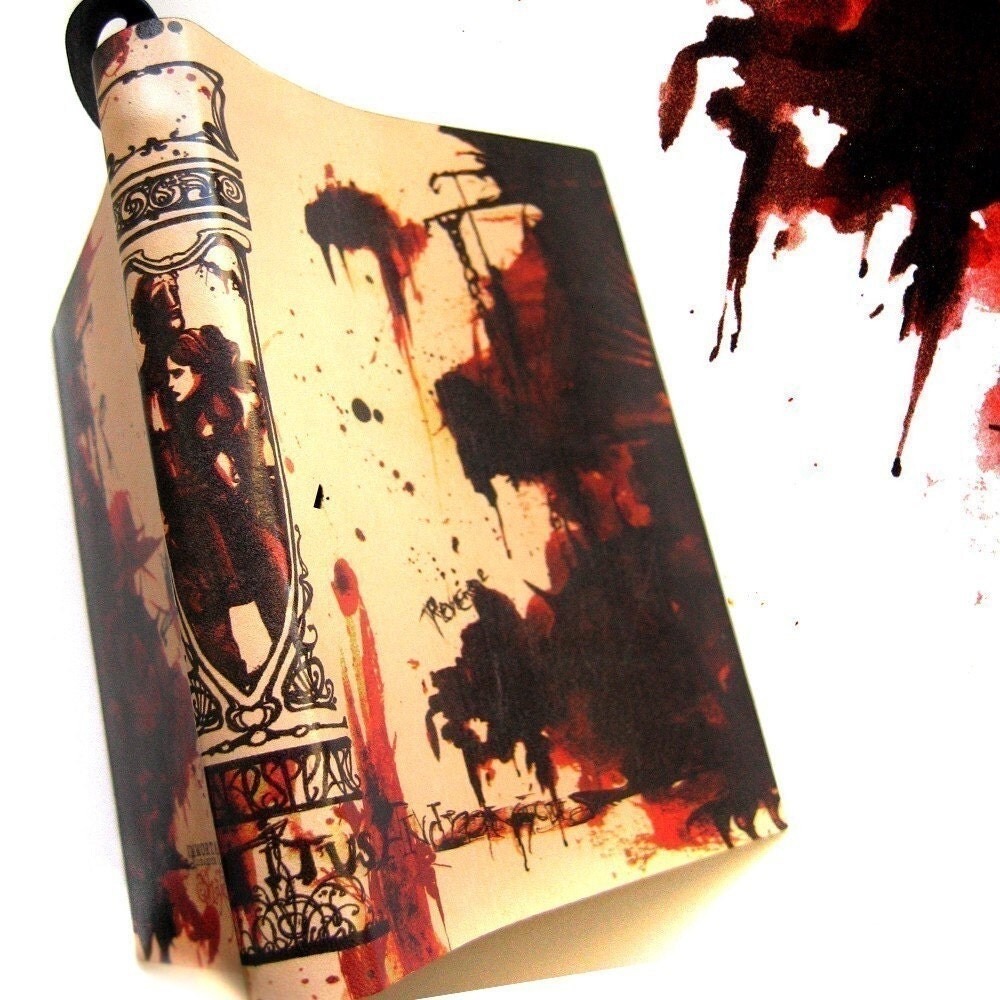
And last, but certainly not least, we have this amazing, one of a kind leather journal from immortallongings. This journal is truly a work of art, with it's beautifully deatailed illustration and macbre spatterings of blood. Gorgeous!


Thanks to all the Etsy-ians out there whose hard work and craftiness make my Friday 5 possible. Keep crafting and have a spooky, safe Halloween!

Cute Japanese Printable Stationary!


I stumbled across some super kawaii Japanese stationary today, and thought I'd share it with all of you!

Just go to KF Studios, and you'll find a wonderful array of cute paper goods you can downlaod in PDF form and print out for free!

If the Japanese scares you, you can just follow these links here.

Calenders
Kids Study Aids (also great for studying your Japanese!)
Kids Moji (little letter charts for learning Japanese letters)
Schedule (to do lists and schedule things)
Memo
Letters
Envelopes
Fax

Happy Crafting!

Sunday, October 25, 2009

Weekend Project Time!

I always look forward to the weekends, because that's usually when I'm free to craft my little heart out. Sometimes though, my crafty plans are foiled due to CRAFT BLOCK!

Any seasoned crafter is well familiar with this horrid affliction with symptoms ranging from staring at your crafting tools blankly to craft fail, in which you attempt to craft something onl to end in often laughable results.

But FEAR NOT! I am here to help. ^_^

I have been searching the net diligently to bring you some wonderful new projects to keep you busy and inspired. And if you can't get to them this weekend, I find that keeping a book of projects I've seen and wanted to try around really helps combat the craft block.

For this week, I'm featuring projects using everyday items you have laying around the house. Hope they inspire you!

Pop Flower Magnets for Recycled Cans from 10th Muse Studio
Recycled Matchbox 'Chest of Drawers' from PlaidOnline.com
CD Case Wall Art and Paper Vases from Country Living
Christmas Ornament from Puzzle Pieces from Family Crafts

Happy Crafting!
~TPE

Wednesday, October 21, 2009

Christmas Ornaments from Scrap Cloth Tutorial


Today I thought I'd share a great tutorial for making Christmas ornaments. This is a simple, fun project, and a great way to use up scrap fabric.

You'll need:

  • A Styrofoam ball (I like the smaller ones, but you can use any size really. )
  • Scrap fabric, or Quick Cut squares (I buy the Quick Cuts at Walmart for $1)
  • A toothpick (or two, if you keep losing them like I do)
  • Pearl headed pins (pins with the little round balls at the top)
  • Ribbon for hanging
  • scissors
First, take your scrap fabric and cut into long, strips. Don't worry if it's not straight. Next, cut those strips into about 1"x1' squares.


Now, take your Styrofoam ball. If you want to make a design on your ornament, draw it on your ball with a marker. Keep in mind that you'll need a simple design, like stripes, to make it come out. If you'd like just a solid ball, go ahead and skip this step.

Take a square of fabric and lay it on your ball. Push your toothpick down through the center of the fabric square and deep into the foam ball. I find a blunt-ended toothpick works best. You can achieve this by snipping off the pointed end of your toothpick with your scissors. Make sure to push the fabric in fairly deep, as this will assure it stays in place.

Keep repeating this, adding more fabric squares to your ball, until the whole balls is covered.


Once your ball is completely covered, it's time to add the hanger! Take your ribbon and measure off a loop big enough for your ornament to hang by. Taking your pin, push it through the ends of the loop and then push the pin into the top of your Styrofoam ball. I find pushing it in an a slight angle helps to keep the pin in place.

That's it, you're done! Now go and hang your new ornament on your tree, or give it to someone special to enjoy. ^_^


Happy Crafting!
~TPE

Monday, October 19, 2009

How To Make An Inexpensive Light-Box

Every good Etsy-ian knows that good photos can mean the difference between making sales or not. Even the best items can flop with a bad photo. But how do you get good photos?

One technique is to put your items in a light box. This will give your items plenty of light and produce a crisp white background, letting your items stand out and really be shown clearly to your potential buyers.

A good friend of mine showed me a great way to make your own inexpensive light box, and I knew I had to share it with everyone! You can find the tutorial here.

Sunday, October 18, 2009

Weekend Project Time!

Okay, so it's a little late, but I spent yesterday meeting a friend from my boyfriend's work. We out out to see Zombieland. If you haven't seen this movie yet, GO. NOW.

This movie is hilarious! It combines a wry wit and sarcasm with the perfect blend of suspense and gore to keep die hard zombie fans happy. Even if you're not a huge fan of zombies, the great acting and comedic stylings of the awesome cast will keep you well entertained. This is definitely a must see and, in my opinion, a must own when it hits selves. ^_^

But, on with what you're really here for, the weekend craft round-up!

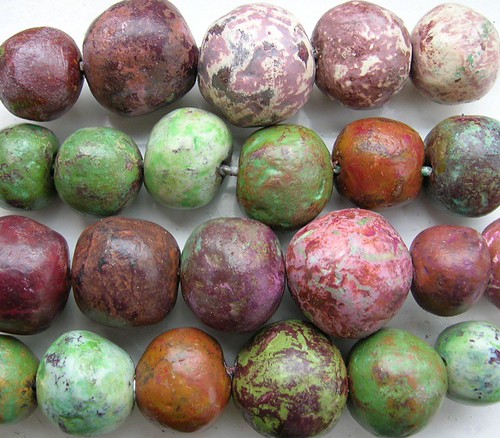
This week, it's paper beads. This is a great way to use up all that scrap paper, or to recycle old newspapers and magazines. I have lots of new ways of making paper beads, and the possibilities are endless!

First, I have a great tutorial on how to make your basic, rolled paper bead. It even has some great ideas on embellishing them to add a little more pizazz. Also, check out the author's website at Hodous.com for some amazing beaded art.


Next, I have a really cool take on paper beads from Folding Trees. Called paper pod beads, this is a really unique way to make paper beads, and can be done with almost any symetrical shape. I made mine with rings, creating a 'gyroscope' shape, and I have a TON of ideas on other shapes to try. You can find the tutorial here.


How about a way to use up those old newspapers? This project will have you stealing your neighbors paper, or maybe just buying Sunday papers in bulk, lol. I'm totally addicted to this project! Gorgeous, eco-friendly beads, you'd never guess they were so easy! Find the tutorial here at A Storybook Life.


Happy crafting!

~TPE

Friday, October 16, 2009

Friday Favorites: Autumn

Yay! It's Friday, and that means the start of the weekend and Friday Favorites! This week, I have some wonderful fall inspired items to get you in the mood. So cuddle up with a nice blanket, a mug of hot cocoa and settle in for some great Etsy fall finds. ^_^

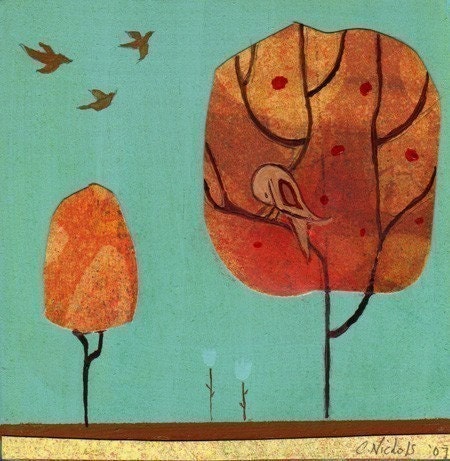
First up, we have a wonderfully whimsical print by cathynichols. I love the simple design and great use of color. Check out her shop for even more beautiful artwork.


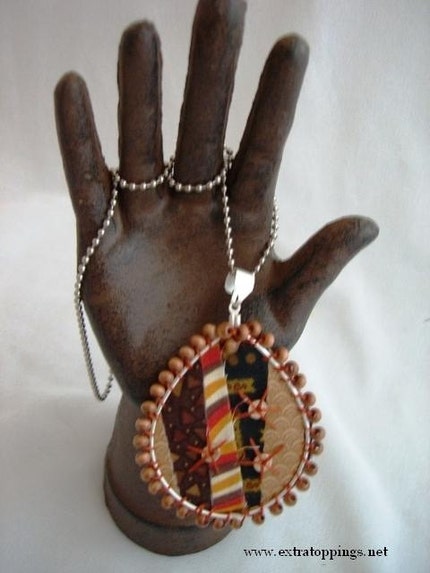
Next, we have a truly unique pendant by extratoppings. I love this seller's shop! Her jewelry is made from fabric and other textiles, and wire. What a creative way to sew! Check her out and snag some awesome additions for your jewelry collection.

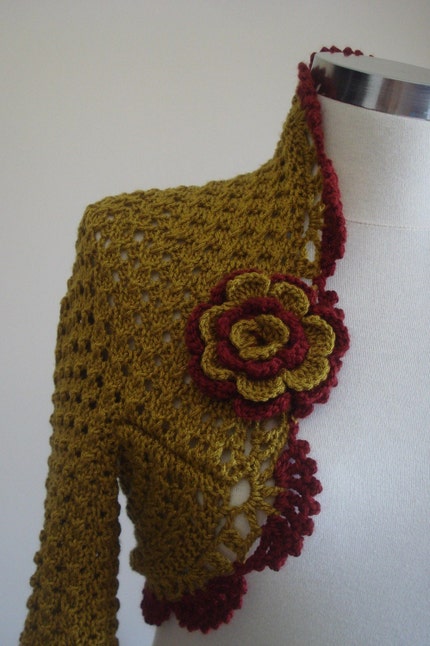
Why not be cozy and cute in this adorable shrug by starpompon? Wonderfully vintage inspired and the perfect colors for fall. Love it!
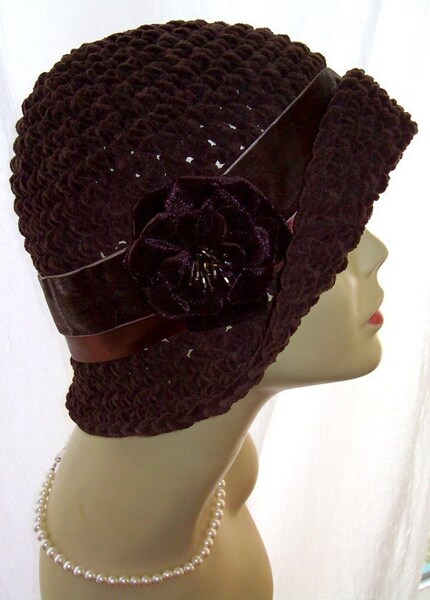
Why not add a soft, vintage inspired hat to your fall waredrobe? This hand-crocheted hat by crochetbylorileigh is sure to be just right. This seller's shop is full of amazing hats and other crocheted items, so head on over and check her out!

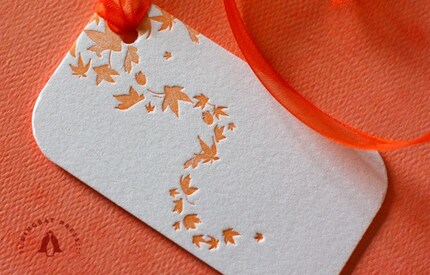
And for all you sellers out there, how about these tags by DingbatPress to add a splash of fall to your outgoing orders? Their shop is FULL of great paper items.


Well, this has been my Friday 5. A big thanks to all of the Etsysians out there whose hard work and craftiness make this possible. Please drop on by and if you can't cart 'em, heart 'em! ^_^

As always, Happy crafting!
~TPE

Tuesday, October 13, 2009

I haven't died....I swear!

Alas, I have been horribly neglectful to my poor little corner of the Blogosphere, but not without reason.

(Warning, personal crap to follow.)

I have been struggling with my health and dealing with a lot of stress from my very demanding course load for this semester. Unfortunately, my health had to take priority, and I had to make the difficult decision to take the semester off from school. On the bright side, that means I get to work on my blog and my Etsy a lot more! :D

I will be adding new things to my Etsy either later today or tomorrow, and have some exciting new products about to hit my shop's virtual shelves. I will be adding bangles, earrings, and other accesories, all done with paper. I'm decoupaging, folding up origami, and have even started paper stitching and quilling. I'm also now offering up customized buisness card sets.

Of course, I will still be crafting my usual; tags and origami a plenty. ^_^

In other news, I will soon be debuting my new Etsy shop, 1ThousandWordsorMore! I will be selling my photography and prints there, so please keep an eye out for more updates as to that.

Happy crafting!
~TPE

Friday, August 28, 2009

Hajimemashite!

Konichiwa, minaasan! (or Hello, everyone!)

I'm taking my 3rd semester of Japanese at Baylor, and thought I'd share a fun little assignment I did today with everyone. My Sensei had us all create a Voki introduction for ourselves in Japanese. Voki's are little animated avatars you can make talk by either typing in a message or recording your voice. Try it out, it's really fun!


Here's my Voki Japanese Introduction!

Monday, August 24, 2009

New Geisha Doll Project

Another day, another craft. ^_^

I have been diligently working on my newest geisha paper doll creation, my second to feature an accessorized doll with accompanying scenery. She isn't finished yet, but I thought I'd give everyone a sneak peak at her and a small glimpse at the process of making her thus far.


Unfortunately, I wasn't thinking and didn't take pictures from the beginning, BUT you will get to see how I make all of the accessories and scenery for this piece.

This is the doll itself, before I added her obi sash. She was given an ornate bow obi made from ivory embossed paper, and then was added to a rectangular black wood base. The scenery will then be added to the base to complete the display.


I knew I wanted my doll to be holding a parasol, and I had originally planned on just buying some little drink umbrellas. When I looked at them though, none of them suited my color scheme, so this is me making my own, lol.

I used a decorative toothpick (it has decorative carving at one end, as opposed to being pointy at both ends) and a piece of floral scrolled vellum cut into a small circle. I cut a small wedge from the circle so that it would form a shallow-sided cone, and poked a hole in the center. I then pushed the toothpick through, pointy end first. A little Tacky glue to the underside, and I had myself an umbrella! The pic shows me adding shimmery white sequins to the edge for embellishment. (What it doesn't show is me cursing at how delicate and tiny it all is, or my boyfriend glaring at me for sticking a toothpick in his candle, lol.)


Here's the doll on her base, with the obi sash and umbrella added.


And here's the doll with a spool of thread for size reference. TINY!


I hope you enjoyed this little preview of my latest doll, and I will update soon with a post on how I make the scenery and photos of the process and the completed doll!

And as always, Happy Crafting!
~TPE

It's Back To School...and a Weekly Feature!

Whew! It's been a busy week!

I moved back into my dorm yesterday and classes start tomorrow, so there was a lot to be done. Thankfully, my amazing boyfriend came down to help me out, making the whole process so much less stressful, and I'm finally getting stuff ironed out and organized.

I'm really excited about this new semester! My roommates are awesome and I've really been finding myself over the summer, and am in a really good place right now. It's going to be a great year, I know it. ^_^

And, in light of my excitement over this new school year, I have decided to do a weekly feature on BACK TO SCHOOL! Everything you need to be a good student...and look good doing it. ^_~


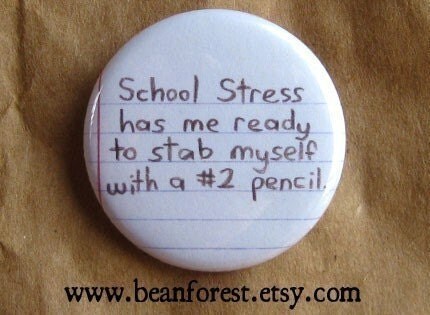
First, we have this hilarious pin by beanforest. I love it! Add it to a bag, or for 50cents extra, make it a magnet!


Next, we have this seriously cute tote by HautTote. She has some great bags in her shop, and even has matching pencil cases! I love her anime pin-up girl series, but she has many other styles to choose from. Carry those overpriced textbooks in style!


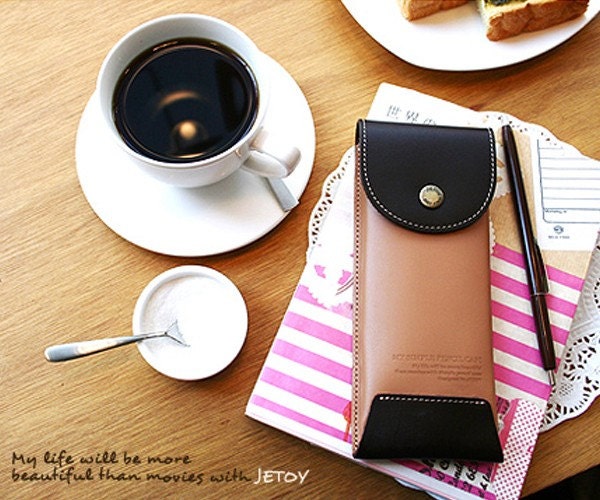
Next, there's these awesome pencil cases from VioletGiftShop! I really love these. So simple, yet utterly adorable! These make wonderful additions to your bag or purse. You can even use them for your tampons....


Why not carry your lunch is style with this authentic Japanese bento box set? Keep all your munchies safe and seperated in this coordinated 6 piece set from spacestitch.


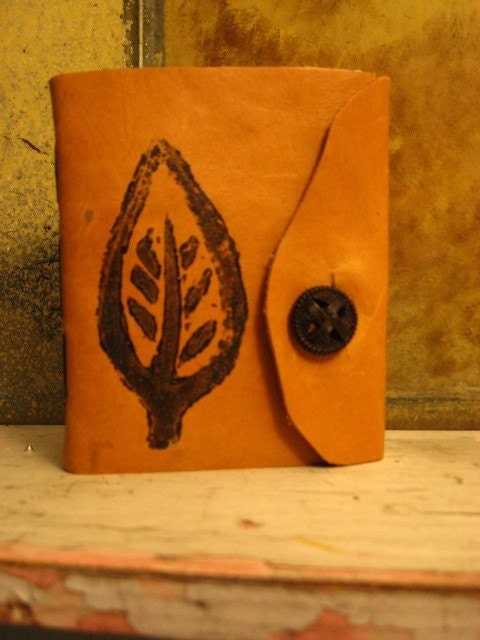
Keep track of your important information, of just jot down notes in this BEAUTIFUL handbound journal by bindingbee. Check out her shop, full of other great journals!


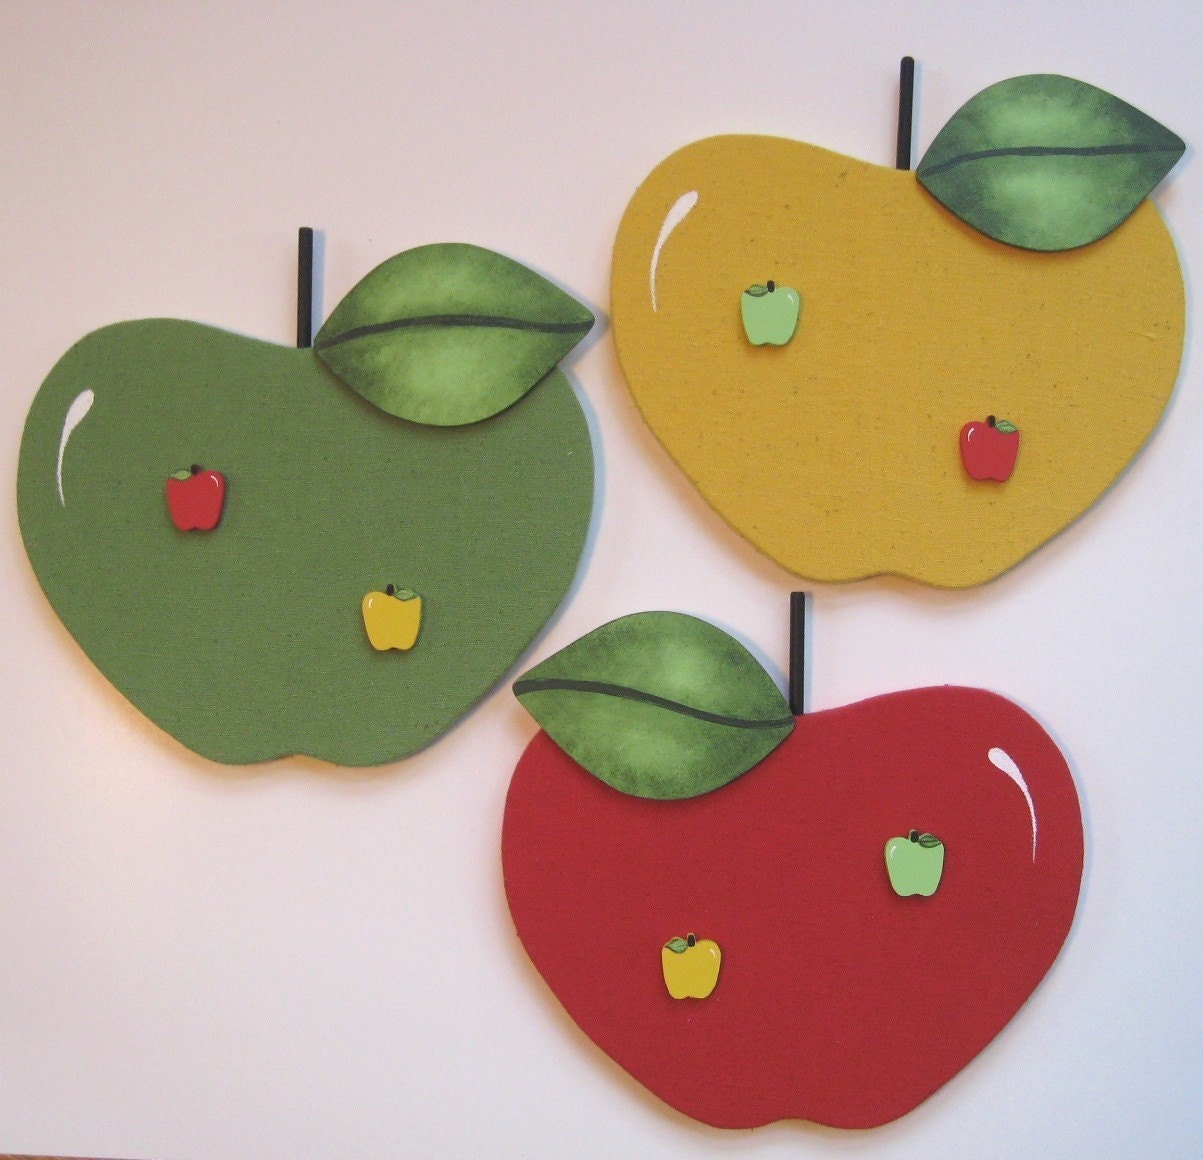
How about these adorable retro apple bulletin boards by pegsboards? Perfect for brightening up your appartment or dorm. Keep track of notes, buisness cards, photos, or just hang as is for a great piece of art. She also makes wonderful push pins to add to her boards! ^_^


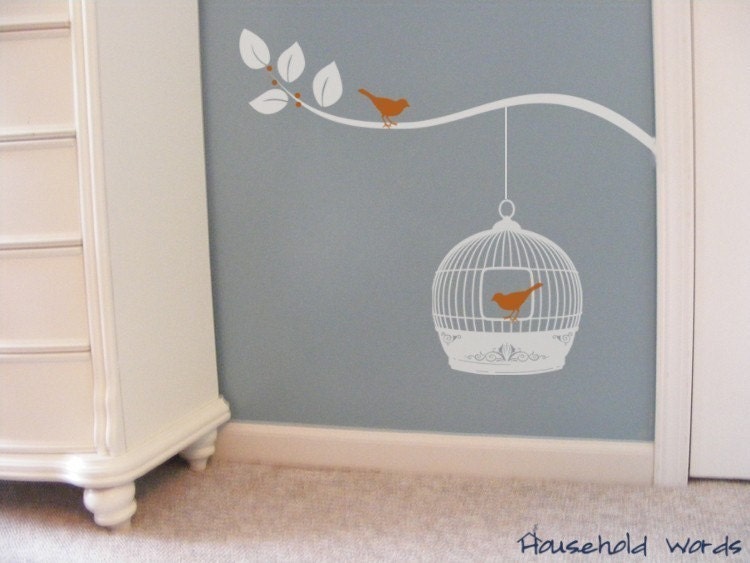
Craving some color on those drab dorm walls but can't paint them? How about vinyl decals? They're completely removable and won't hurt your walls! Have the style you want!
This cute little bird cage decal is by HouseHoldWords. Customizable, you can order different colors and sizes to make it perfect for your space, and her great prices make it brilliant!


Be brainy with this CUSTOM laptop sleeve from brokesy. Since it's custom, you are guarenteed a good fit, and the her designs are totally unique and quirky. Perfect for the geek in your life!


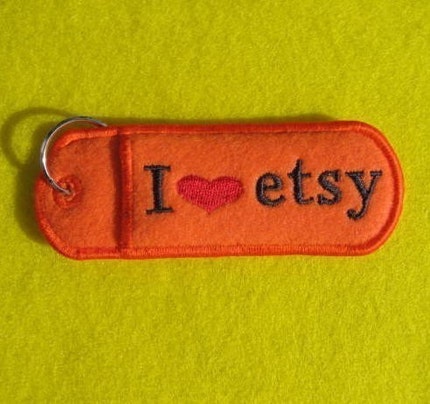
Keep that all important flash drive safe and handy with this cute little flash drive holder and key ring from auntifranni. Lots more in her shop, so your sure to find the perfect one to fit your style. <3


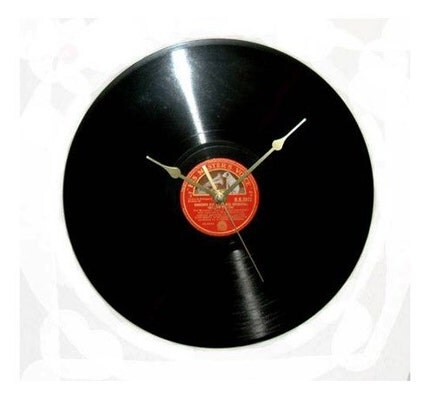
And last, but certainly not least, we have this reclaimed vintage record wall clock by TickTocklers! Get to your classes on time and be stylish doing it. ^_^


Thanks to all the wonderful Etsysians who make my weekly features possible! Please give them some love!

And as always, Happy Crafting!
~TPE

Friday, August 21, 2009

I lost my Trade Virginity!!!

Well, I suppose this is yet another case of virginity lost through peer pressure. I was chatting with a friend via MSN messenger and one thing just lead to another. Soon, we were talking Etsy and sales, and well...I guess the inevitable came up.

Trading.

Well, I had never traded before, but she assured me there was nothing to worry about. It was nothing. Everyone was doing it. There was even a forum thread, group and BLOG for it. Well, if it had a blog....

So there I was, tremulously typing 'tradeaholic' into the forum search box on Etsy. I closed my eyes, and hit Enter and up popped the Tradeaholic's 18 hour Frenzy thread.

Wait, FRENZY?! What was i getting myself into? And yet, I was compelled.

Before I knew it, I had entered the thread and posted, opening myself up for trades. And did they ever come.

I had only barely just posted, and my Conversation lit up! Oh, I was hooked! The thrill of seeing those red little numbers at the top of my screen! I couldn't wait to read them all! I could barely keep up, they just kept coming! To think people wanted to trade with a newbie like me, that they liked my shop! So new to this trading thing, and already an addict, already a.....tradeaholic.
-------------------------------------------------------------------------------------------------

In all seriousness, trading is WORTH IT!

  • Great way to see other seller's shops
  • Great way to be seen!
  • Wonderful way to get your products circulating
  • Word of mouth gets around, impress those traders!
  • Meet cool sellers and NETWORK!
  • Great way to get some Holiday gifts for us starving artists
  • Great way to get supplies. Lots of destashers wanting to trade!
Check out the Tradeaholics in the forum our at their blog, and loose your virginity, too. Seriously, all the cool Etsyians are doing it. ^_~

Saturday, August 15, 2009

This week's feature: Steampunk Wedding!

Well, I've been a neglectful little blogger, haven't I? Life's been rather nebulous lately, with heading back to school and moving and getting my things together, but at least I remembered weekly feature, right?...right?

Well, to (hopefully) make up for my neglect, I have put together a very special feature for everyone. Enjoy!

-------------------------------------------------------------------------------------------------


Ever since my boyfriend and I began discussing marriage, I've all but had the event planned, lol.Of course, these plans are frequently revised, mostly on account of Etsy.

I knew I wanted something different, as both me and my boyfriend aren't traditional in any since of the word, and I knew Etsy was definitely the place to start looking. While searching , I came across some amazingly unique options for the vintage/gothic-minded Bride, and developed quite a collection of tagged items. I've been tryign to put them into a treasury, but every Etsyian knows how hard that is, so for now, I'll feature some of my favorites. ^_^

Please take a look at my sidebar and the amazing wedding items featured there. These shops are GORGEOUS and it was very hard to pick only one item from each. Check them out, you won't be dissapointed!

Thanks to all the wonderful Etsyians who make my features possible, and as always,

Happy Crafting!

~TPE

Saturday, August 8, 2009

This week's feature: Plushies!

This week's feature was inspired by a wonderful, random act of kindness from my Dear Boyfriend. I had been having a really bad day, so on his way home from work, he stopped and got me a present. ^_^

It turned out to be an utterly adorable Uglydoll. If you haven't checked these out before, you really must! They're so cute and VERY SOFT! I'm sure I'll have the whole collection before long, lol.

At any rate, this thoughtful gift amde me crave a little plush in my life, so I hit Etsy searching for stuffies for my next weekly feature. Please check out my side banner for all the wonderful stuff (pun so intended!).

As always, thank you to the wonderful Etsy-sians whose awesome items make my weekly feature possible. Please give them a look. ^_^

~TPE

Wednesday, August 5, 2009

Buisness Cards on Display

With the date of my first craft show drawing closer, I've been looking all over the net for new and creative ways to display and promote, and today, I found some great ways to show off those all important business cards.

All of these are DIY holders that are simple and use materials you probably already have lying around the house. ^_^


First, I have a really cool DIY holder made from yellow pages and a tube. The original maker uses metal tubes for a more mod look, but you could make a tube from colored cardstock, or decorate a toilet paper tube for even more recycling goodness! You can find how to make it here.


Next is a great way to recycle those old cassete tape cases. Use the cassete as a holder and the cassete case as a display stand, perfectly portable! You could leave them plain or embellish them using hot glue or a strong glue like E600. Find the tutorial here.


The next one is for all of you out there who like to steal paint samples when you go to the hardware store. Don't deny it, you know you do it, too. Come on, I can't be the only one....right?
This project is a great way to use up all those paint chips and makes a colorful display for your buisness cards. You could even add some embellishment to personalize. Easy peasy! Here's the tutorial.


The next one is a really beautiful way to display, and you could really use any paper you desire. I find using old cereal boxes for the base is a great way to recycle. ^_^ You can find the template and instructions here.


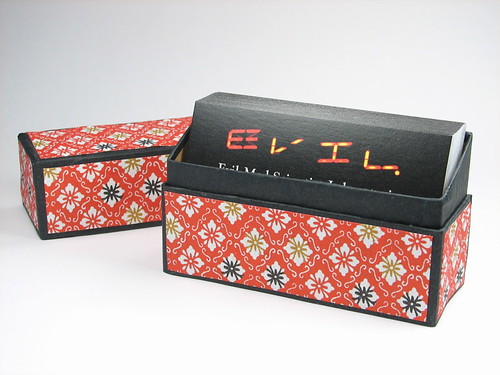
I also found a buisness card box template that could also be made from cereal boxes and scrapbook or washi paper. you could even use wrapping paper.


The last one is probably one of my favorite ideas; this mini easel is totally adorable and so easy to make. All you need is a few Popsicle sticks, cardboard and glue! Not as portable as the others, but still a cute, unique way to display those business cards at your booth or on your desk. ^_^
You can view pictures and the tutorial here.

Hope you all have fun making your very own business card holders, and as always,

Happy crafting!
~TPE

Tuesday, August 4, 2009

Crafting For A Cause

In this hard time, we're all feeling the pinch. Sales are low and every dollar has to be stretched a little further. In these times, it's hard to remember those who are less fortunate, and because of this, everyone's hurting a little more than usual. And yet, my good Etsy friend looked past her own needs and created a 100% charity Etsy shop!

JollyJennifer just recently created crafting4causes, an Etsy shop that relies on item donations from fellow artists and Etsy-sians and then takes 100% of the procedes and donates them to a given charity.

Every couple of months, the charity to be donated to will change, making sure that the good will gets passed around. For the month of August, the charity will benefit her local food bank.

I was privileged enough to be asked to be one of her contributing sellers and just shipped away several donations for her shop. She plans to add many more items in the weeks to come, and her shop promises to have tons of variety. Already, she has been given a stuffed kitty, several tote bags, some tags and odds and ends, and I personally donated 2 cards, a set of mini cards and matching envelopes, and 2 glass tile pendants.

So please, stop by this amazing seller's shops and see what she has to offer, or convo her and ask to contribute your own bit of good will.


Happy crafting,
~TPE

Monday, August 3, 2009

Upcycle a frame with PAPER!


Hello my lovely crafters and craft enthusiasts!

Today, I thought I'd share my very first tutorial with you. I recently made another upcycled frame, and thought I'd share how I did it. It's SUPER EASY, and proabably doesn't even need a tutorial, but for those of you who are lacking a little crafty inspriation lately, here's to you. ^_^

Alright, first we need to gather our materials.

  • an old frame (It works best with frames that are flat, ie. no ridges or anything in the frame design.)
  • a thicker scrapbook paper (I used SEI paper, as it's thick and durable, but you can use any thicker patterned paper you wish. Washi origami paper aslo works very well for this.)
  • Aleene's Tacky glue
  • exacto knife or other craft knife
  • cutting surface (I almost forgot this and was about to carve up the table until the boyfriend stopped me, lol.)
  • bone folder (not necessary really, but GREATLY helpful!)
  • Krylon Triple Thick Clear Sealant or other paper-safe sealer (This will help give more durability to your project and add a glossy finish. ^_^)
Alright, now that we have all our materials, you will want to lay down your cutting surface (I used a cutting board) and place your patterned paper pattern side down (ie. the side you want to be on your frame when you're done.)

Cut the paper larger than your frame, as it you were wrapping a present, making sure the paper will wrap around the frame's sides.

Take your frame and disassemble it, taking off the backing and glass, so that you are left with just the framing. Add Tacky Glue to the front, making sure to cover the entire area, especially the edges and corners. Lie the frame glue side down onto your patterned paper. TRY TO GET IT CENTERED!Let this set a minute or so.

Now, take your exacto knife and cut a small rectangle out of the center of the patterned paper, showing through the frame. Make sure you don't cut to close to the frame's inner edge. You want to be able to cover the frame's inner edge when you wrap the paper around. Once that is done, cut from the corner of the rectangle you just made to the corner of the frame's inner edge. Again, make sure not to cut to close into the corner. Repeat this for all four corners.

Now you should have 4 little 'flaps' inside your frame. Taking the Tacky glue, spread glue one one flap, making sure to get the glue in the crease between the paper and the frame. Fold the flap up to cover the frame and glue firmly. Using a bone folder to help makes this much easier and ensures a tighter fit later.


Once all 4 flaps are glued and have been given a couple minutes to dry, you can begin wrapping the edges of your frame. Start with 2 parrallel sides, as shown. (I started with the two longest sides.) This will help you fold the corners in later. Apply Tacky Glue to one flap, and fold it up to cover the frame, making sure you have pulled the paper snugly against the frame. The tighter you pull the paper to the frame, the better it will look when completed!Once those edges have had a chance to sit and dry fairly well, as you don't want them moving around when you fold the other sides, start folding in the other sides. It can be a little tricky, but don't worry. ^_^


I fold the top 'flap' haning over from the other side's flap down and press it against the uncovered frame side, using a bone folder to make sure it is snug. It sounds a bit confusing maybe, but look at the photos to give you an idea of what I did.

when both corners have been tucked in, fold the flap up to cover the frame edge. Make you the fold is tight and snug! Repeat for the last edge and allow to sit and dry for a few minutes.


Well, we're almost done! Turn your frame over and examine for any uncovered areas. It's alright if you have a few the first time. It can take a little practice to know just how to wrap the frame so that nothing shows. It took me a couple tries, too! ^_^


Now that your frame is wrapped, it's ready to be embellished! You can also choose to leave your frame plain wrapped, it's up to you!


I chose to embellish my frame with die cut chicks from my Cricut, adding to it's retro feel. Just use Tacky glue to add whatever you want to the frame and make it yours. ^_^ When you have finished embellishing your frame, add a clear sealant for extra protection. Follow the instructions on the product, and if aerosol, only use in a properly ventilated area or outside! Krylon is really strong and I would only use it outdoors and with a mask on.